I Built a Faceless YouTube Channel and Turned It into a $15K/Month Passive Income Machine
My journey of how I built a faceless YouTube channel and transformed it into a passive income powerhouse, bringing in around $15,000 a month!
Hello beginners, fellow dreamers! I’m Mike, and today I want to take you on a journey—my journey—of how I built a faceless YouTube channel and transformed it into a passive income powerhouse, bringing in around $15,000 a month! So sit back, grab your favorite snack, and let’s dive into the nuts and bolts of my successful YouTube venture, all while I share the tools that helped me get there.
Why a Faceless YouTube Channel?
First off, you might wonder why I chose a faceless channel. Well, living in Lagos and juggling a busy life, I wanted something that allowed me to create content without being in front of the camera. This way, I could focus on my scripts, voiceovers, and the fun parts of video creation without the pressure of being on screen. Plus, there’s something liberating about using only your thoughts and creativity to connect with the world!
Setting Up Your YouTube Channel
Step 1: Create Your Channel
Starting your own channel is super simple! Here’s how you can do it:
- Sign in to YouTube: Use your Google account to sign into YouTube.
- Create a Channel: Click on your profile picture on the top right, select "Your Channel," and then click "Create Channel."
- Customize Your Channel: Add a catchy name, a strong description filled with your target keywords, and links to your social media accounts. Consider using tools like Canva to create an eye-catching banner that reflects your niche!
Step 2: Choose Your Niche
Choosing your niche can make or break your channel. Here’s what I’ve learned:
- Research: Check trending topics and what’s doing well on the platform. Tools like VidIQ and TubeBuddy are fantastic for keyword research.
- Passion vs. Profit: Pick something you love—but make sure there’s an audience for it! Whether it's tech reviews, top 10 lists, or motivational content, just ensure it resonates with viewers.
Step 3: Brand Your Channel
- Logo and Thumbnails: Use Canva to create a logo that captures the essence of your channel. Thumbnails are your first impression—make them bold and exciting!
- Consistent Aesthetics: Stick to a color scheme and font across your videos and channel for a cohesive look.
Creating Content Without Showing Your Face
Step 4: Scripting and Voiceovers
I can’t stress enough how important a good script is. Here’s how I handle it:
- Outline: Break down your ideas and create an outline.
- Scripting: Write a detailed script, making your content engaging and informative.
- Voiceover: I use my phone’s voice memo app for recording. If you're looking for high-quality voice outputs, consider investing in a decent microphone. I also explored AI voices through tools like Descript and ElevenLabs to create voiceovers that sound very natural.
Step 5: Video Creation with AI
Here’s where it gets exciting! I found awesome tools to create videos without needing to shoot anything:
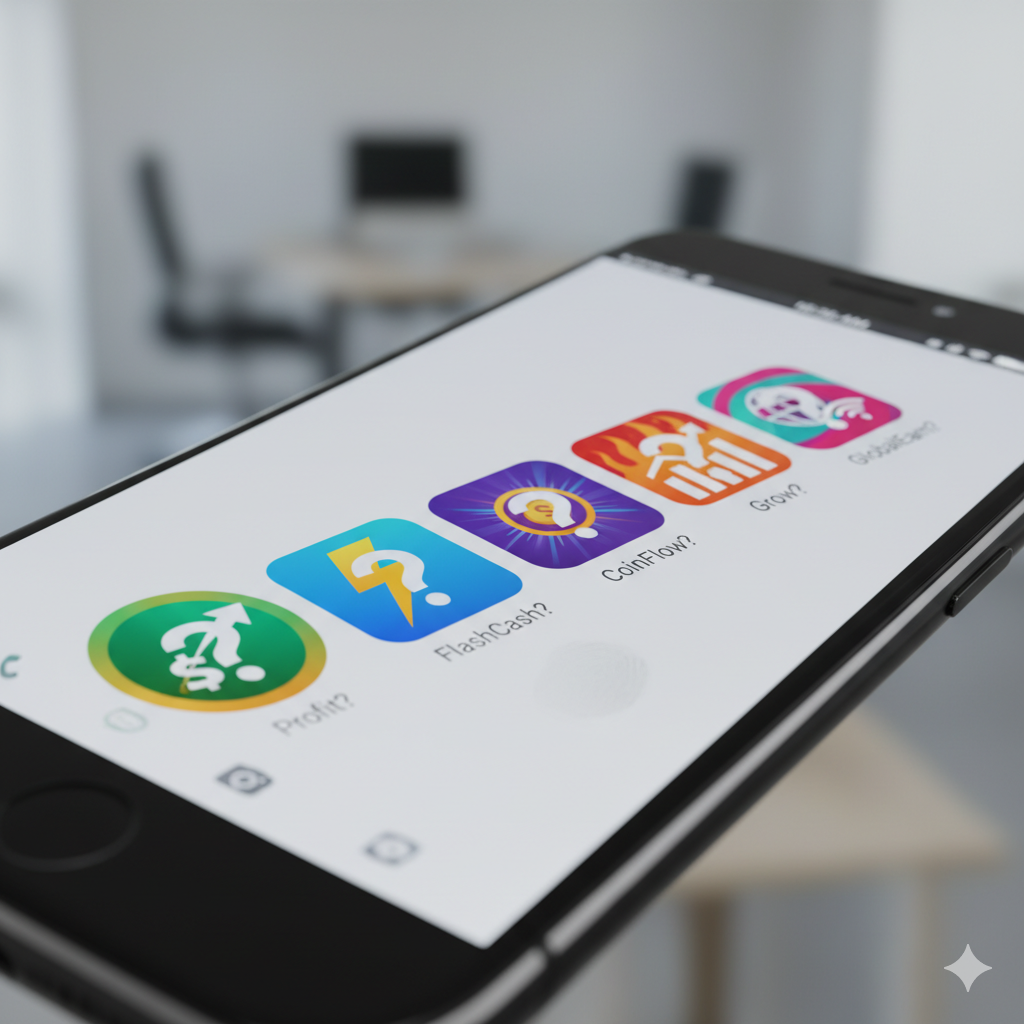
- Grok App: This app lets you generate AI videos quickly. You can input your script, and it’ll create animated videos with eye-catching visuals tailored to your content.
- Stock Footage: If you need some additional visuals, use websites like Pexels or Unsplash for free stock footage. Combine this with Grok to create compelling storytelling.
Step 6: Enhance Your Content with AI Image Generators
Now, let’s talk about how an AI image generator can bolster your content. I love using tools like DALL-E or Midjourney for creating unique images. Here’s how to do it:
- Choose an AI Image Generator: I recommend using DALL-E. It’s user-friendly and creates fantastic images based on your prompts.
- Create Unique Images: Enter a detailed description of what you want to visualize. Use keywords that represent your video’s theme. For instance, if you’re creating a video about “The Future of Renewable Energy,” you might prompt it with “A futuristic city powered by solar panels and wind turbines.”
- Download and Use: Once the images are generated, you can download them and include them in your videos or thumbnails. They add a personal touch and can make your content visually rich and engaging!
Designing Thumbnails that Sell Clicks
You know what they say, “You never get a second chance to make a first impression!” Thumbnails are your virtual handshake with potential viewers.
- Use Canva: Craft stunning thumbnails that reflect your video’s content. Bright colors, bold text, and intriguing images can dramatically increase click-through rates.
- AI Images in Thumbnails: Integrate those unique AI-generated images you’ve created. They can set your channel apart and spark curiosity.
- Test and Adapt: Don’t be afraid to test different designs and colors to see what resonates best with your audience. Analytics are your best friend here.
Monetizing Your Channel
Step 7: Setting Up Adsense
Once you’ve crossed the threshold of 1,000 subscribers and 4,000 watch hours, you can activate monetization. Here’s how:
- Go to YouTube Studio, and find the “Monetization” tab.
- Follow the prompts to set up Google AdSense; you’ll need an account if you don’t already have one.
- Once approved, choose your ad formats. I’ve found that skippable ads work best for my niche, letting viewers enjoy content without being interrupted!
Extra Income Streams
While ads are great, don’t limit yourself!
- Affiliate Marketing: Share products related to your niche in the description and earn commissions by recommending them.
- Merchandise: If your brand grows, think about merchandising—T-shirts, mugs, or phone cases that represent your channel!
- Sponsorships: Once you build a following, brands may approach you, or you can pitch them for partnerships.
Growing Your Audience
Step 8: Engaging with Your Community
Building a community is essential:
- Respond to Comments: Make an effort to reply to your viewers. It fosters connection and encourages them to keep coming back.
- Call to Action: Encourage subscriptions and likes by adding a friendly reminder in your videos.
- Social Media Presence: Promote your content across platforms like Instagram and Twitter. Use tools like Hootsuite for scheduling your posts!
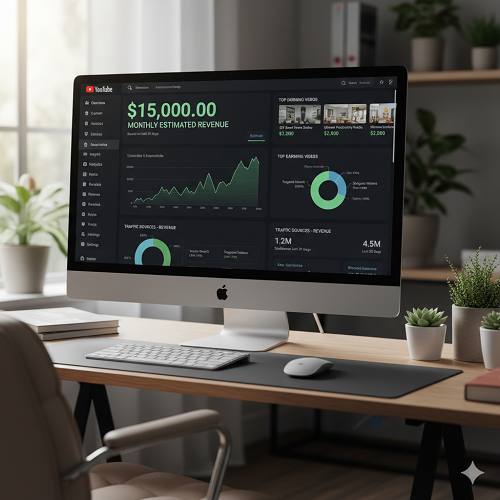
Step 9: Analyzing Performance
Use YouTube Analytics to see what works:
- Traffic Sources: Identify where viewers are finding your videos.
- Audience Retention: See where viewers drop off, and tweak your content accordingly.
- Experiment: Don’t be afraid to try out different video styles or topics based on what the data suggests!
Conclusion: My Journey to Passive Income
So, there you have it! From scripting and creating engaging content to growing my community and monetizing effectively, I’ve transformed my faceless YouTube channel into a $15,000/month passive income machine. This journey has been rewarding, and if I can do it all from my cozy Lagos home, you can too!
With the right tools—like Grok for AI video creation, Canva and AI image generators for thumbnails, and a solid understanding of monetization techniques—success is within your reach. Remember to stay genuine, keep learning, and monitor your progress. I can’t wait to see what you create!
Happy creating, and here’s to your YouTube success!